Showing posts with label Kitchen Renovation. Show all posts

Sunday, June 29, 2014

Kitchen Renovation: Complete at Week 12

Hooray! Pull out the giant scissors and cut the ginormous ribbon, I'm calling it complete at week 12. Now we just need to pass that final inspection, but that's just administrative mumbo jumbo.

Red pendant lamps with a vintage flair over our big table provide a big punch of red color and much needed light

We hung up our colorful Cow and Pig butcher diagrams in the same spot as our old kitchen

Much bigger spice rack with five tiers was the most functional and capacious rack I could find

Just in case you're looking for the loo, a faux vintage WC sign. "Powder room" seemed too fussy, "Restroom" too commercial and "Bathroom" seemed misleading so "WC" it is.

Compost bin that I'm using as a countertop trash can. I've labeled it "Trash" so no one is under the false impression that I'm some sort of hippie that composts.

Sunday, June 22, 2014

Kitchen Renovation: Weeks 8-11...almost there

I've been procrastinating on kitchen renovation updates because I was waiting for it all to be 100% complete and presentable which is a bit silly in retrospect. By week 10, the kitchen was fully operational and we started moving all of our stuff back in. Next week, the last of the paint and the electrical should be totally finished. Yay!

Do we love our new kitchen? YES YES and YES!!! Last week, I came down to find Adam quietly singing a made up song to himself that goes something like this, "I love my new kitchen, la la la." We're enjoying the open space and we're appreciating all the extra storage though we manage to fill it up pretty quickly and had to get rid of a few things. 

Our new kitchen is a larger L shaped layout with an eat in dining table
The white cabinets are all IKEA with white Lidingo style doors
The marble-esque counters are Caesarstone London Grey quartz

We kept one leg of the L shaped layout as one continuous counter for baking, making coffee, toasting bread, etc. Since the kitchen is eat in, we'll use this long counter as a sideboard or buffet.

Pullout storage for all my baking supplies

Flat plastic storage for more baking equipment and supplies. A box for cookie cutters, a box for  cellophane bags, a box for cupcake liners and even a box for skewers because I have an unexplainably large collection of skewers.

At the end of the counter is a little nook I like to call the "appliance carport" for tucking our small appliances out of the way.

We love this IKEA tall pantry for storing our food including about 10 kinds of crackers.

Custom open bookshelf above the sink for all our cookbooks and it's also a perfect spot for our Jambox. A second prep space to the right of the sink. 

Six burner gas cooktop with a exhaust hood. I'm so excited that our whole house won't smell like food with this more powerful exhaust hood. 
P.S. Our contractor did a wonderful job installing our tile backsplash, it looks so serene

 Drawers under the cooktop for all our pots and pans

Custom shelving for storing sheet pans, cupcake pans, madeline pans, trays, etc.

More storage for bundt pans, cake pans, springform pans, lasagna pans, etc.

So open!!! Our dining table is a butcher block table top installed on an electric adjustable table base from MultiTable. We can raise it to counter height for more prep space and lower it to dining table height for eating and playing games.

The dining chairs are stackable so we can store them in the corner and they're [wink wink] made of plastic. If you're wondering where you should put your used napkin...put it in the bag that says "laundry."

Friday, May 23, 2014

Kitchen Renovation: Week 7 brings counters

They opened up the sheetrock partition today so they could start working on the various trim work for the room. If you remember, the original opening to the kitchen used to be much larger, but we shrunk the opening down a bit to accommodate more cabinets along the wall and to create an actual doorway.


I'm really liking the Caesarstone London Grey counters Marbella Kitchen and Bath installed today. I really love the look of marble, but I didn't want the hassle of maintaining natural stone since we're not the neatest bears and we like to eat colorful foods so we went with engineered quartz that looks a little marble-esque. The installation took about an hour and the kitchen felt like a clown car with about 8 of us hovering in and around the room and large slabs of counters being maneuvered around piles of equipment and appliances. 


I'm excited about the giant sink!

We opted to extend the counters to the wall in this corner to utilize the dead space. It doesn't look like much now, but I'm hoping to store our countertop appliances in this little nook so they're accessible, but out of the way. I'm calling it our appliance carport. 


Next up is figuring out wall paint color.

Monday, May 19, 2014

Kitchen Renovation: Weeks 5 and 6

Weeks five and six rolled right on by and there's been lots of visual progress.
  • Cabinets are built
  • Counters have been measured and will be installed this week
  • The layout is coming together

I think we're still about three weeks out from completion which is right about on schedule. We are definitely looking forward to moving into a functioning kitchen. Hopefully the photos will be more interesting and pretty in about two weeks.


Tuesday, May 06, 2014

Kitchen Renovation: Weeks 3, 4 and oh we're getting AC

A lot has been accomplished in weeks three and four, but the visual progress has been less noticeable. 
  • All the plumbing, gas, water and electric has been rerouted
  • The ducting and the external blower for our new cooking exhaust fan was installed. By installing the blower outside the house, we're hoping the exhaust fan will be significantly quieter
  • A bunch of plumbing was completed including replacing our baseboard heat with a toe kick heater
  • Recessed lighting installed along with electrical for our two new pendant lights
  • Appliances delivered
  • New insulation installed after we passed the rough inspection and the walls were closed up with two layers of sheet rock for extra sound proofing
  • They've started assembling the IKEA cabinets

Walls stuffed with new fire and sound insulation

External blower with ten inch ducting for the exhaust fan. This was a lot bigger than I expected, but at least it's in the back of the house

Start of IKEA cabinet assembly and installation

Along the way, we decided to start an air conditioning project that'll take about a week to complete. It gets so hot and humid in Boston, it's legitimately uncomfortable in the summers. Adam has always wanted air conditioning and I've always vetoed it in the past because I assumed central air would be super invasive to install. Since I don't get as hot, I've always tell Adam to "just suck it up" and "suffer a little." Adam pointed it out that my refusal to consider air conditioning would be the equivalent to Adam refusing to turn up the heat when I'm super cold in the winter. I wouldn't stand for Adam telling me to "suck it up" when it's cold so point [loudly] taken.

We're excited to finally have air conditioning. Other than the one year where we lived in a newer apartment with AC, I've never had AC in the 18 years I've lived in New England. It'll be more comfortable for us and for our visitors. Hopefully our families from California will want to visit during the summer and won't suffer from heat induced insomnia.

Equipment waiting to be installed

The HVAC guys proposed a solution that's hardly invasive and will only take about a week so we took the plunge and started this project this morning. We'll have two zones of air conditioning. One in the basement to cool the first floor and another one in the attic to cool the second and third floors. This morning, they cut this big hole in the attic for the return air grill. They also need this hole to haul up the actual air conditioning unit up into the attic since our existing attic access is so small, I'm surprised that the guys can even shimmy through it.

Giant hole, HVAC guy peering down. He tells me that the attic is in good shape and there is no evidence of critters up there

I learned that our ceilings have two layers just like my floors. The original lathe and plaster ceiling is the interior layer. At some point, they attached the newer sheetrock ceiling to the plaster ceiling with pieces of wood

Piece of ceiling they removed, check out the two layers

Friday, April 18, 2014

Kitchen Renovation: First Two Weeks

We're two weeks into our kitchen remodel and a lot has happened and a lot more needs to happen before we're done. Lots of activity, lots of banging, lots of drilling, etc. I feel kinda bad for Bandit, our neighbor's dog, who keeps barking because of all the commotion. Our Living Room Kitchen has been better than expected and our friends have been inviting us over and dropping off prepared foods.  Yay for friends!

Our old cabinets piled up on the porch waiting for the dumpster to arrive

Hello Dumpster!

Filling up the dumpster

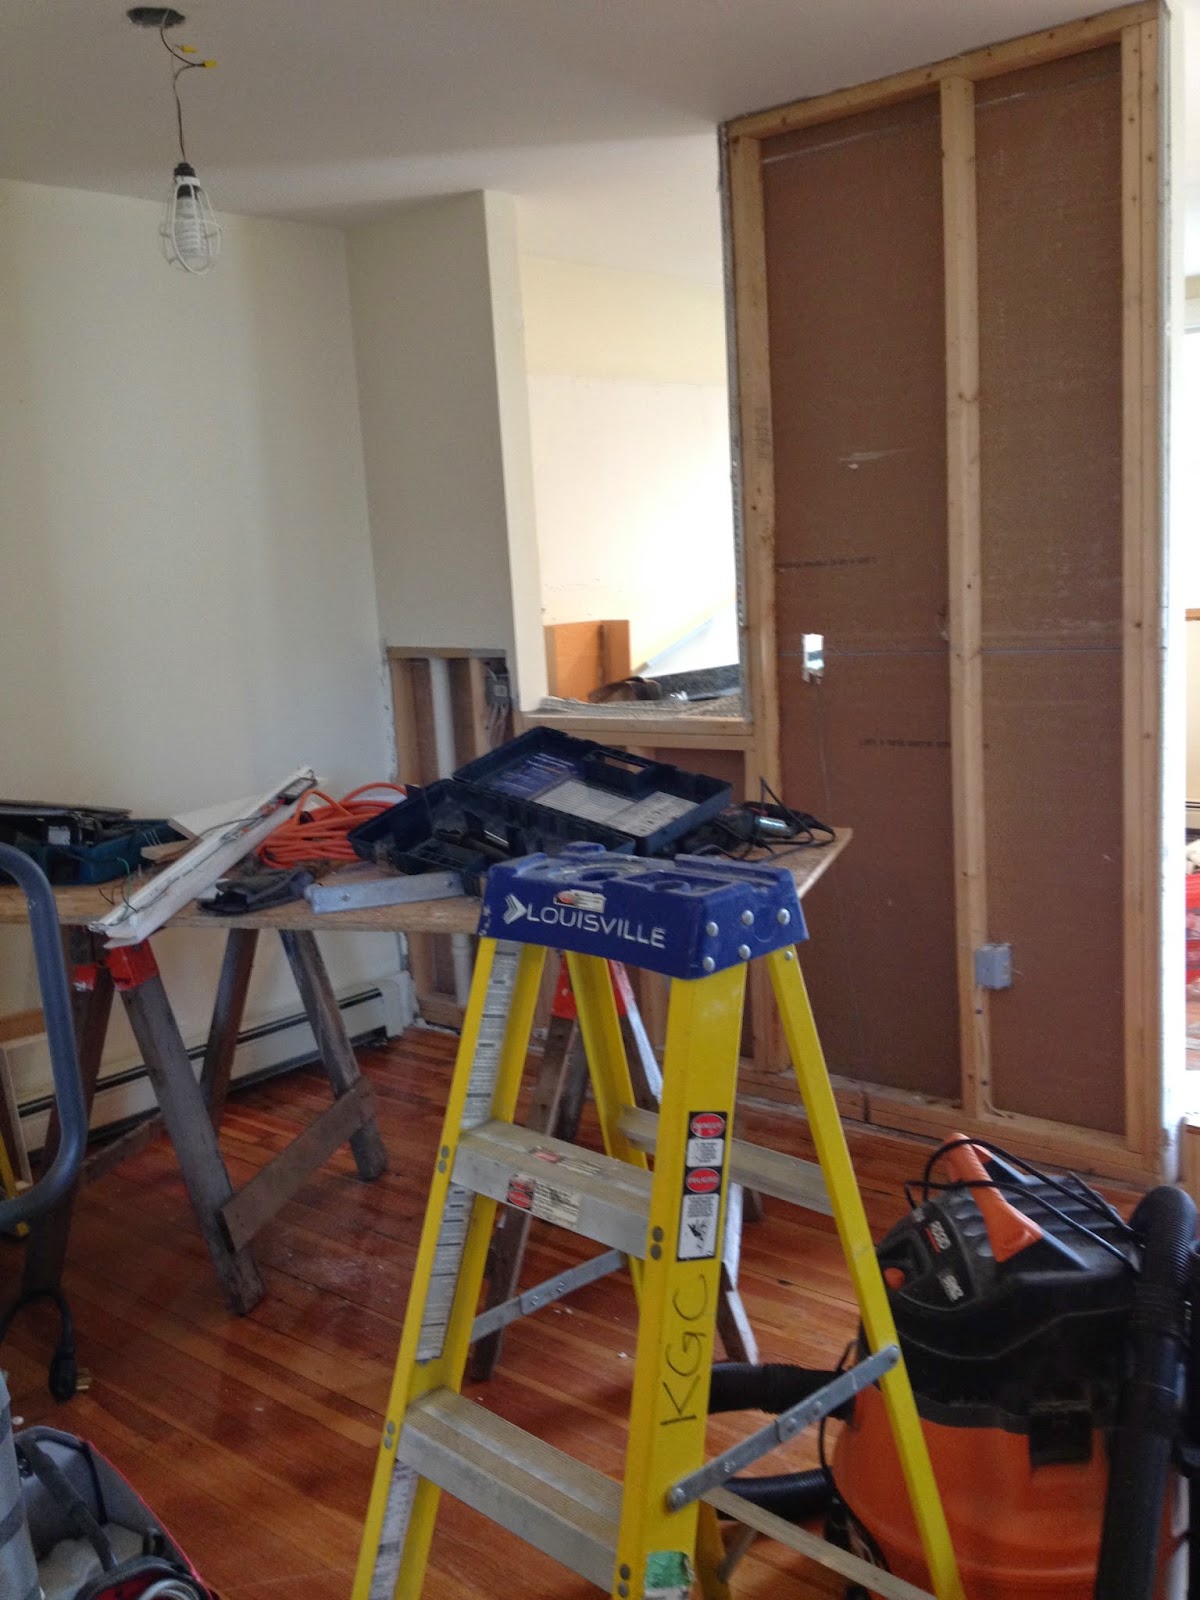
Demolition of the wall separating our kitchen from our dining room

Wall gone!!!

Who knew this pipe was inside the wall

Sheetrock separating our living space from the construction zone

Turns out there's another layer of even older hardwood floors under the original old timey hardwood floors

Opening up walls

Old insulation cleaned out

Glad our old picture hooks are serving a new purpose holding up masks

Wednesday, April 09, 2014

Kitchen Renovation: plasticmom's Kitchen Completed

Our contractor finished up plasticmom's kitchen yesterday and it passed inspection so I enjoyed a celebratory strawberry sundae from Burger King. I have some minor odds and ends to tidy up like buy and install some hardware for the wall cabinets. To glimpse the before photo, click here.

Completed kitchen with new IKEA cabinets, quartz counters and tile backsplash. Loads of long cabinet pulls for her to "hang stuff" like towels and clips. The fridge is relatively new, but she kept her old stove and microwave. New under cabinet lights that actual turn on when you turn them on. Her old ones were flickering fluorescents that took a while to fully light

Left: plasticmom's teeny counter depth fridge. She's always dreamed of a "small fridge" whereas I've always dreamed of a bigger fridge. We made her "dreams" come true with a 24 inch counter depth fridge with a top fridge and bottom freezer so she doesn't have to bend over as much

Left: Custom shelf above the fridge built using IKEA coverpanels I'm thinking it'll be perfect for stashing paper towels

Center: IKEA sink and faucet. White subway tile backsplash with a strip of green/blue mosaic glass. Maple Blanco Silastone quartz counters. They recommended putting the seam in the middle of the sink so there isn't a "long line" and I think it works. Just a little line on either end of the sink

Right: custom open cabinet with adjustable shelves built with IKEA coverpanels 

Right: custom open cabinets built with IKEA coverpanels

Right: Still, mistakes happen. Didn't realize the stove handle had a wide curve so the top drawer doesn't open all the way

Right: Top drawer only opens 75%, but thankfully the other three drawers are fully functional. Tight squeeze, but mostly OK. Oh well!